My last post on this project was on April 2019. A very long time ago.
So, what went on between then and now?
For this project, not so much. I started a couple of new projects, and they are taking a lot of time during the week, so I had to pause this one.
I have been able to find time though to upgrade my engines from AC to DCC. As explained earlier, I have a lot of Digitrax equipment, and I do not have a Marklin system. So I decided to go with the Digitrax as the main digital system, using the Marklin track and engines. By the way, I also have an NCE system, and an MRC Prodigy system. For just running engines, all three can be used.
As a test, I converted one engine (3034), and the test proved I can use DCC with Marklin, using Digitrax decoders. In this case I used the NCE system to test the engine, as it is part of my workbench.
So far, I converted 11 engines, and I have 9 more to do (at this writing 5 are still out in the mail system). This post is going to be specific to these engines, what I converted with, and decoders (all silent at this time).
60944 for 3021		V200
60944 for 3022		E94
60944 for 3096		BR86
60944 for 3043		Class Rc

60943 for 3032		BR81
60943 for 3005		BR23
60943 for 3034		E41 Blue
60943 for 3031		BR81
60943 for 3030		Class Da

60943 for 3029		0-6-0 Tank Engine
60943 for 3095		BR74
60943 for 3037		E41 Green
60943 for 3005		BR23
60943 for 3001		E63
60943 for 3099		BR38
60943 for 3000		BR89 (2 with light bulbs, 1 with three headlights)
60944 for 3072		V100
60944 for 3050		AE6/6


60941 for 3075		V160

E188838 for 3048	BR01
60944 for 3047		BR44
The green are done, while the yellow are not (waiting on the conversion kits). Some of the finished ones actually are not finished as I have not installed the headlight LEDs yet.
The conversion itself was about the same for all of the engines:
1- open the engine to inspect the work ahead
2- start unsoldering all the wires
3- remove the screws from the motor and the reverser
4- remove the motor brush plate, the 3 pole armature, the magnet field, the reverser, the light bulbs
5- remove the slider, wire contact, unsolder the wire from the contact piece
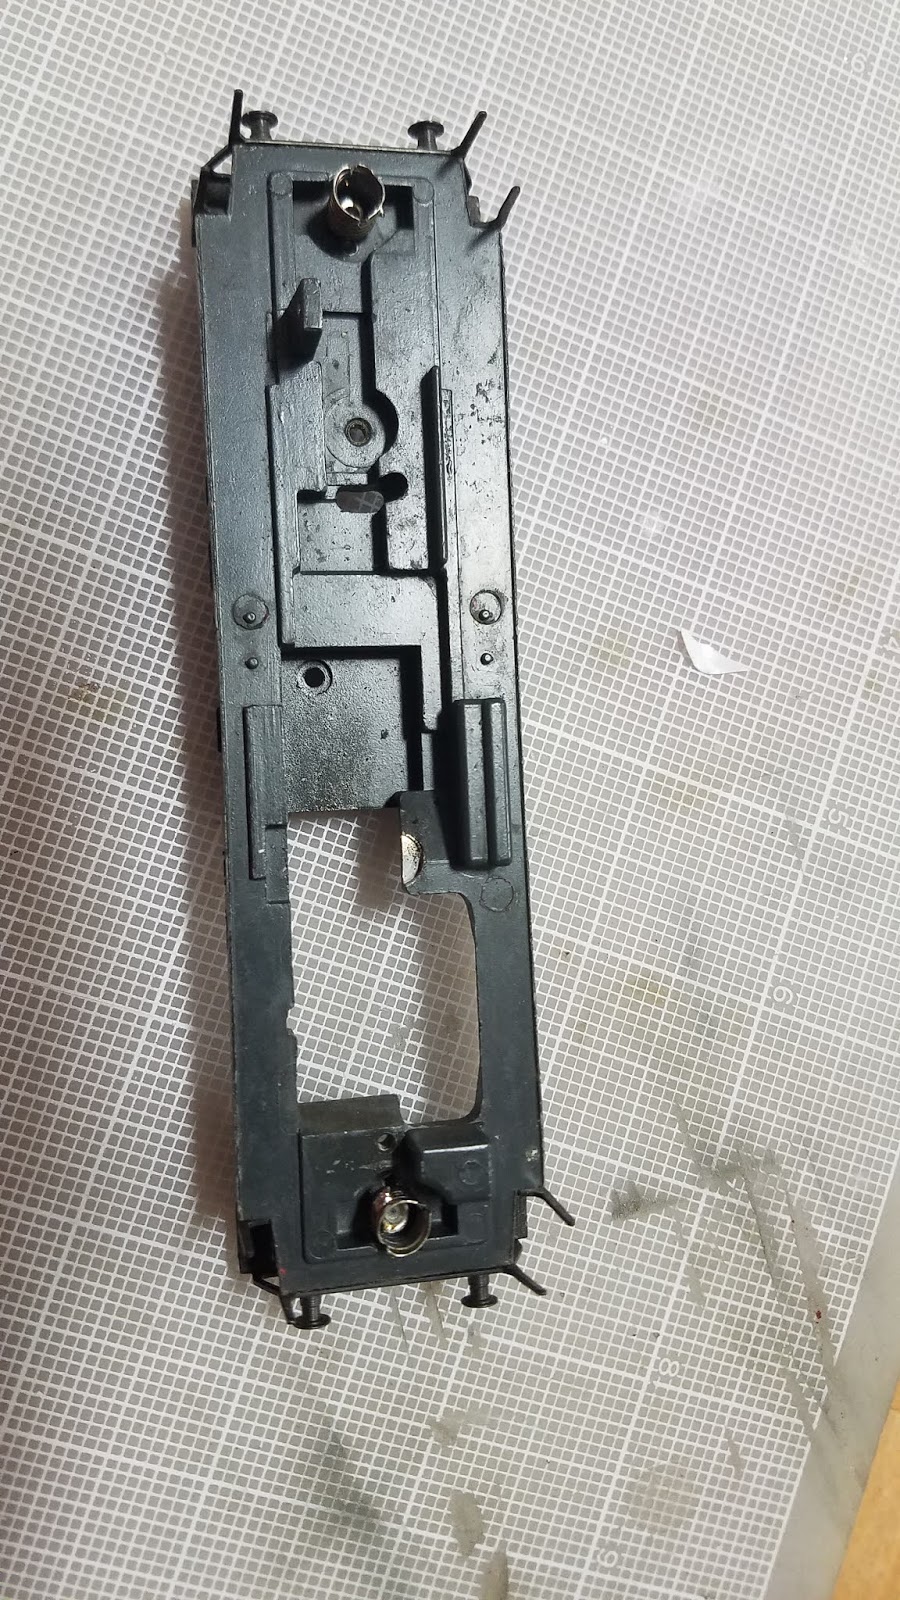
At this point the motor wheels should run freely. Inspect that there is no fuzz or hair around the axles. I then use mineral spirits to clean all the old oil and greases from the gears using a Q-tip and also a tweezer to pick up any debris.
At this point I put one of the kits into the engine. Be very careful about placing the new field magnet and armature, then close the motor with the new brush plate. Temporarily place the two screws to lock the plate, then turn the wheels. Hear any strange sounds, feel that there is little resistance. Once satisfied, place the two carbon brushed, paying attention to the slot in the back direction, then engage the two clips to lock the brushes.
Again, using your fingers, turn the wheels and hear and feel the movement. Then I use a 9V battery and place it to the terminals on the brush plate. The motor should turn with no issues. Reverse the battery to make sure the motor runs with no problems in both directions. (Heh, I should make a video about this, shouldn't I).
At this point, the mechanical installation is almost complete.
The next post will continue with the installation of the decoder and LEDs, testing, then programming the decoder using JMRI.
Thank you.

Comments
Post a Comment